
Get a load of that in your cake hole. If it will fit, that is.
This giant cupcake was fun to bake and a joy to eat. My son requested this cake for his 7th birthday. Once we had the concept it was simply a case of working out how to make it happen. Here is some guidance, followed by the recipe and detailed construction instructions.
To start with you will need a giant cupcake baking tin. Mine was just £5 from good old Aldi.
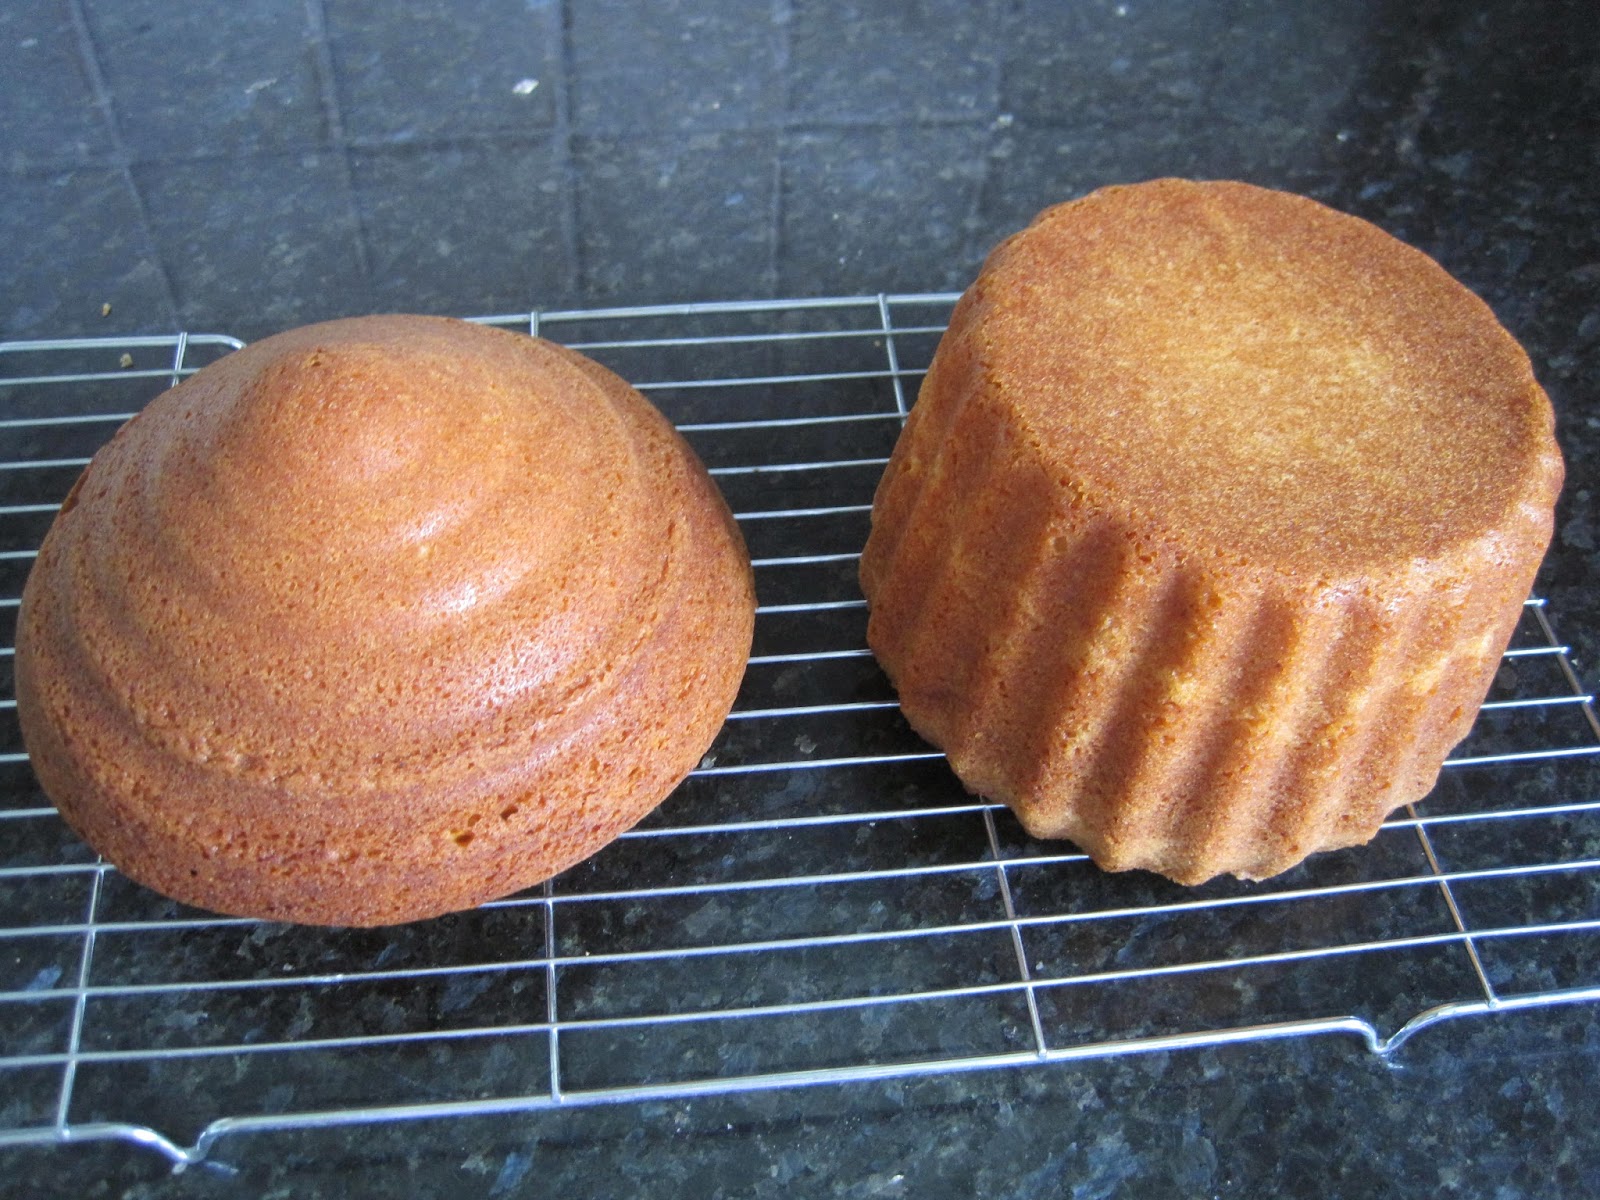
Once cooled, it's a good idea to cut the base in half so you can fit more jam and butter cream inside.

Re-assemble, sandwiching each layer with strawberry jam and vanilla butter cream.

Then stick ice cream wafers on the sides with (more) butter cream, to resemble a giant cone.

Swirl generously with vanilla butter cream, so you get a Mr. Whippy effect. Add sauce and sprinkles. More is more...

Then, of course, you need to add some flakes...

Look at all that awesome CAKE.

Can you manage a whole slice? Of course I did...

Giant Vanilla Ice Cream Cupcake
Vanilla Sponge Cake
Ingredients
375g Butter, at room temperature
375g Caster sugar
2 tsp Vanilla Extract
6 large Eggs
375g Self-Raising Flour2 tbsp Milk, if required
Method
Spray your tin thoroughly with cake release spray (or grease it, old style). Cut a circle of grease proof paper or baking parchment and place it at the bottom of the base part of the tin.
Heat oven to 140 fan or gas mark 3.
In a large mixing bowl, cream the butter and the sugar. I use a handheld electric whisk, although you could use a wooden spoon and plenty of elbow grease.
Add the vanilla extract and then whisk in the eggs, one at a time.
Fold in the flour, one heaped tablespoon at a time. Use a metal spoon for this. You are aiming to keep as much air in the mixture as possible. This is a big cake and you want the sponge to be light and fluffy.
If the mixture feels a bit heavy, carefully stir in some milk at this point.
Pour the batter into the two sides of the tin, leaving at least a couple of centimetres at the top to allow room for the cakes to rise.
Bake in the centre of the pre-heated oven for 75 minutes, until a metal skewer or cake tester comes out clean.
Leave to cool in the tins for a good ten minutes before turning out onto a cooling rack. Remove the circle of paper.
Vanilla Butter Cream
Ingredients
500g Butter, at room temperature
1kg Icing Sugar
1 tsp Vanilla Extract
2 tbsp Milk
Method
Carefully place all the ingredients into the bowl of your mixer (I use a Kenwood Prospero, with the K-beater). You could do this by hand, but you'll have stronger arm muscles than I do.
Top Tip: Before you even think about switching your mixer on, cover it with a damp tea towel. The icing sugar will try to escape and nobody wants a kitchen covered with icing sugar...
Mix for five minutes. Open the mixer and scrape the edges of the bowl with a spatula. Mix again for another minute.
Assembling your Giant Vanilla Ice Cream Cupcake
Once the cakes are cool, slice the base in half horizontally. I use a cake wire, but you can easily use a knife here. Top Tip: place cocktail sticks above and below where you are going to cut, so you can align the two pieces easily.
Starting with the bottom layer, spread generously with strawberry jam. Then dollop butter cream on top, spreading it almost to the edges. Repeat with the next layer.
Use butter cream to stick ice cream wafers around the outside of your cake.
Put the remaining butter cream into a piping bag. Top Tip: stand your bag in a pint glass, with the sides folded down over the glass to make it easier to fill. I use Lakeland disposable bags and a Wilton No.1 nozzle.
Now the tricky part, the icing. Start at the top of the wafers and slowly and steadily pipe butter cream in one massive swirl. Go round and round, with no gaps, until you get to the top. You should have plenty of butter cream left, so be generous.
Now decorate with strawberry sauce (I use Tate & Lyle) and large sprinkles (Aldi).
Finally stick a few Flakes in and your cake is finished.
And, ta-daa, here is your giant vanilla ice cream cupcake in all its glory. It's a showstopper and one that is guaranteed to get some ooh's and ah's of appreciation.

Ooh, ah, etc.
Linking up with Casa Costello, click on the badge to find out more...